Setup and Install SDK using VS Code
This guide provides a concise, end-to-end setup for the Astra MCU SDK in VS Code. For more detailed information, see VS Code Extension User Guide.
Throughout this guide, <sdk-root> refers to the directory where you extracted or cloned the SDK.
Table of Contents
Prerequisites
Supported host OS: Windows x64, Linux x86_64 or aarch64 (Ubuntu 22.04), macOS x86_64 or ARM64.
Note: For SL2610 development, only Linux hosts are supported (WSL with Ubuntu 22.04 is supported). See Astra MCU SDK - WSL User Guide.
Windows users: it is highly recommended to run VS Code and the Synaptics extension within WSL2. See the VS Code WSL guide for details.
Visual Studio Code installed (download).
Get the SDK
Extract or clone the SDK to a local directory (for example,
<sdk-root>).Keep the SDK path short on Windows to avoid path length issues.
Install the Synaptics VS Code Extension
Click the Extensions icon on the side bar, click the three dots at the top right of the extensions window, and select Install from VSIX…
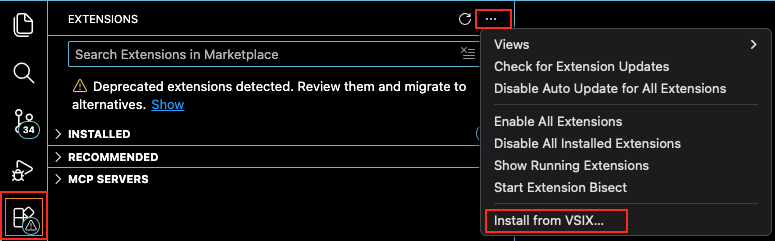
Locate the VSIX package in
<sdk-root>/tools/(for example,<sdk-root>/tools/Astra_MCU_SDK_vscode_extension-<version>.vsix), and click Install.Confirm the Synaptics extension appears in the VS Code activity bar, usually on the left pane.

Close and then reopen VS Code.
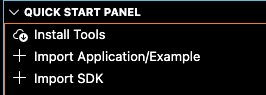
Install Tools
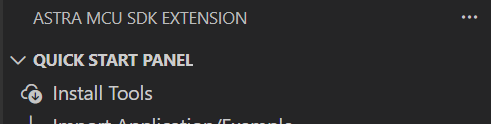
Open the Synaptics extension sidebar and select Install Tools.
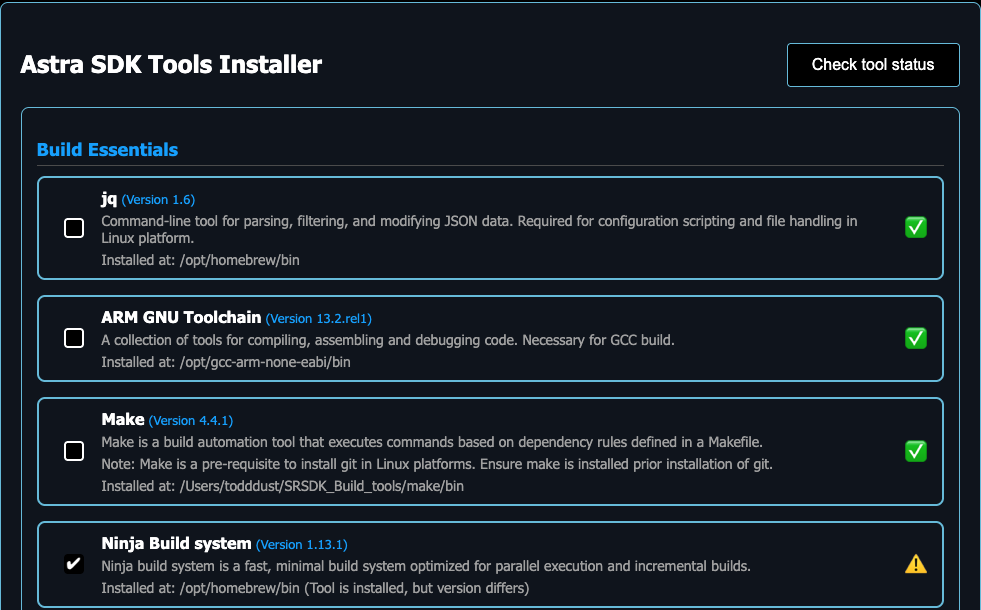
The tool check runs automatically when the panel opens; you can also click Check tool status to re-run it.
Note: On Linux and macOS, check the VS Code terminal; it may ask you to enter your password to install tools required for the tool check.
Review any missing tools. Missing tools are flagged with a warning icon and are pre-selected for installation.
Click Install and monitor progress in the Install Script Terminal. During installation your OS may prompt for confirmation/approval on some installation steps.
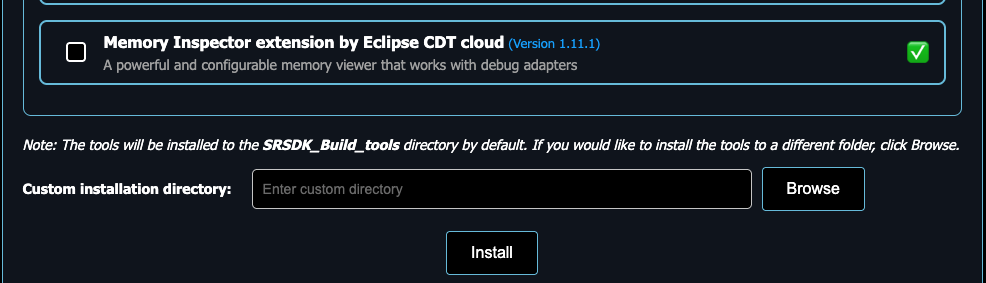 Default Install locations:
Windows:
C:/Users/<username>/SRSDK_Build_toolsLinux:
/home/<username>/SRSDK_Build_toolsmacOS:
/Users/<username>/SRSDK_Build_tools
When installation finishes, close VS Code and reopen.
Note:
Arm Compiler 6 (AC6) requires manual installation due to licensing constraints. Follow the steps provided in the tool.
Linux USB/serial permissions (recommended)
On Linux, add your user to the dialout group so the flashing tools can access USB CDC/UART devices:
sudo usermod -aG dialout $USER
Log out and log back in (or reboot) for the group change to take effect.
Import Application/Example and Set SRSDK_DIR
In the Synaptics sidebar, choose Import Application/Example.
Import from local (select the SDK
<sdk-root>/examples/folder).After importing examples, open Import SDK and set
SRSDK_DIRto<sdk-root>(not the<sdk-root>/examples/folder).Note: The Import SDK button appears after you import the examples.
This updates the workspace settings.json so build, image conversion, and flashing can locate the SDK.
Build and Flash (VS Code)
SoC-specific build and flash flows:
SR110 Build and Flash with VS Code: SR110 Build and Flash with VS Code
SL2610 Build and Flash with VS Code: SL2610 Build and Flash with VS Code
Troubleshooting Tips
Only one SDK can be imported per VS Code workspace.
On Windows, keep the SDK path short to avoid path length issues.
If Build and Deploy is disabled, re-check
SRSDK_DIRin Import SDK.Examples can only be built from the SDK
<sdk-root>/examples/directory; import it via Import Application/Example.Problem: Build and Deploy button is disabled or grayed out.
Cause: Examples directory not imported orSRSDK_DIRnot set.
Solution:Verify you imported the
<sdk-root>/examples/folder (not the SDK root).Use Import SDK to set
SRSDK_DIR.Refresh the workspace (close and reopen VS Code).