JPEG Sample Application
Description
The JPEG Camera sample application uses the PS5416 to capture a 648 × 368 RAW Bayer image along with a sequence of JPEG pre-roll images. The application sends the latest captured JPEG frame every 3 seconds. The JPEG images are saved in the overlayed_frames subfolder within the video_stream_output directory of the SynaToolkit folder.
Platform Setup
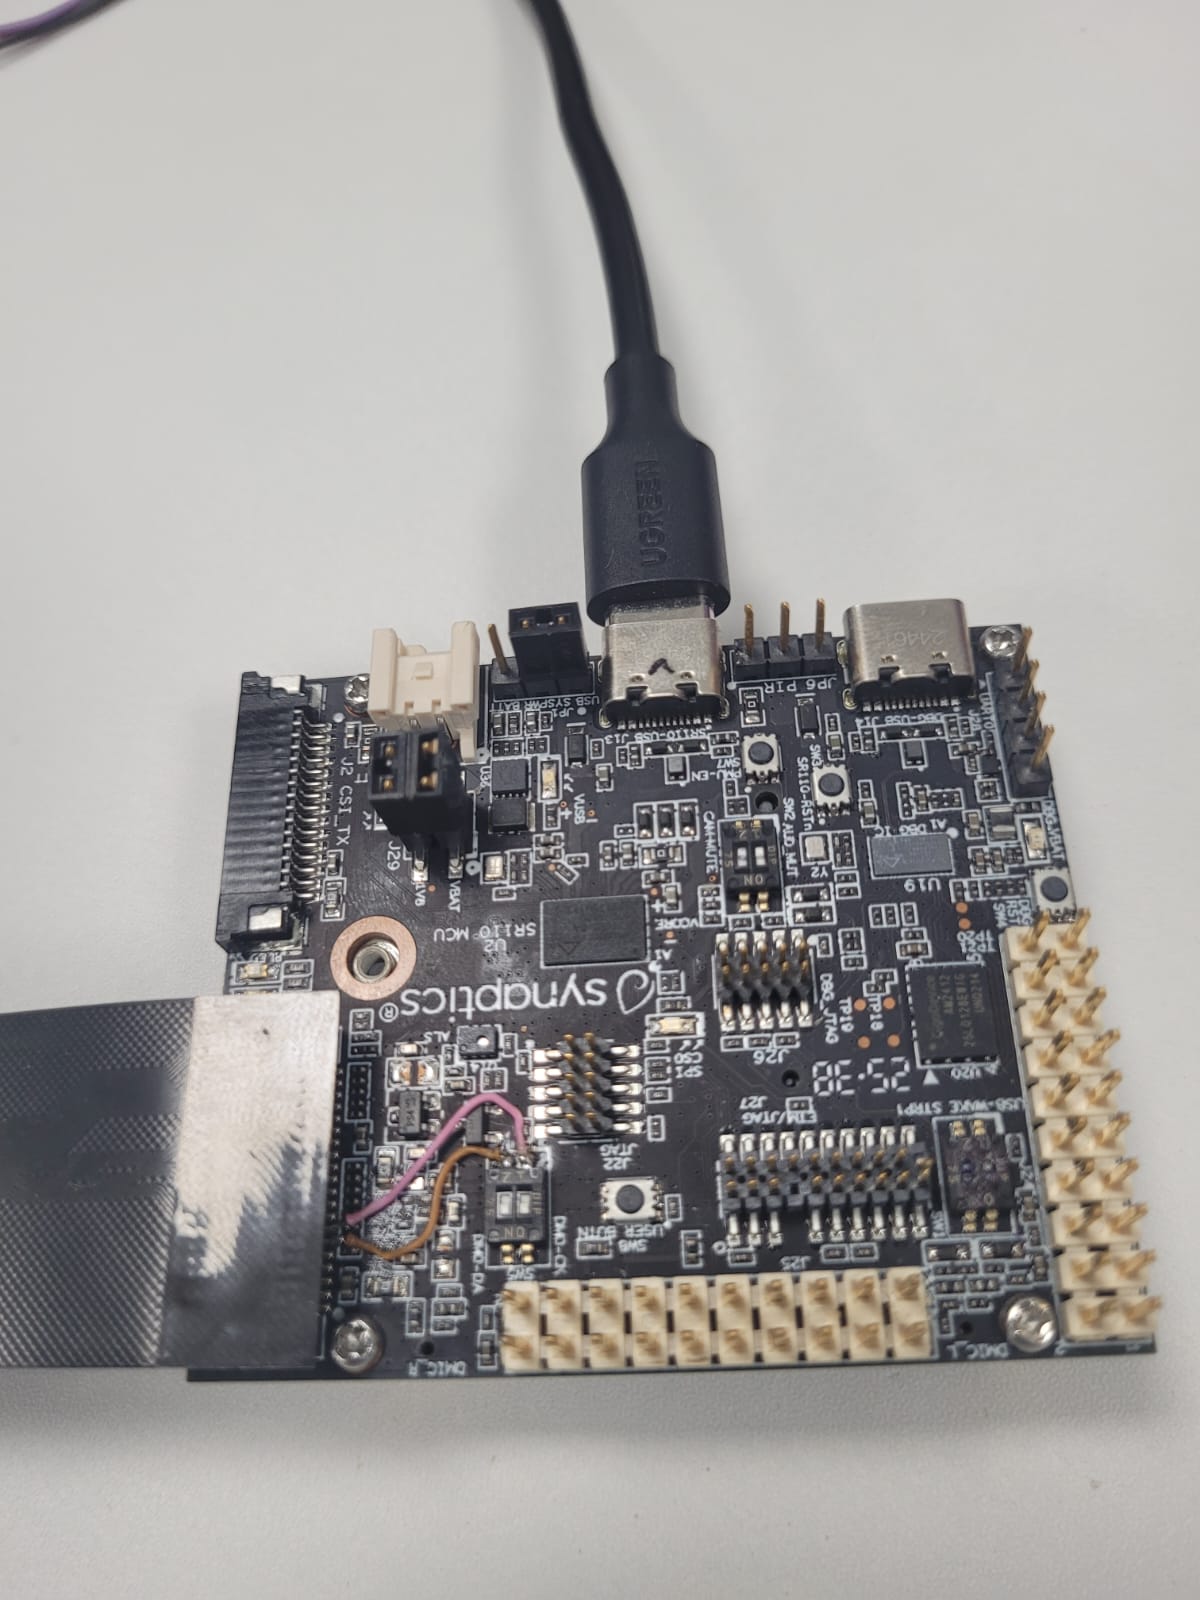
Rework Details
This rework is required because another device with I2C address 0x4C is already present on the I2C1 bus. To avoid an address conflict, the image sensor is connected to the I2C0 interface.
Remove R244 & R245
1. Connect SW5.2 to R244 at Samtec connector End.
2. Connect SW5.1 to R245 at Samtec connector End.
Prerequisites
Zadiq Driver installed and configured
Setup and Flashing
Open the Astra MCU SDK VSCode Extension and connect to the Debug IC USB port on the Astra Machina Micro Kit. For detailed steps refer to the Astra Machina Micro Eval Kit.
Generate Binary Files
FW Binary generation
Navigate to AXF/ELF TO BIN → Bin Conversion in Astra MCU SDK VSCode Extension
Load the generated
sr110_cm55_fw.elforsr110_cm55_fw.axffileClick Run Image Generator to create the binary files
Model Binary generation (to place the Model in Flash)
To generate
.binfile for TFLite models, please refer to the Vela compilation guide.
Flash the Application
To flash the application from VS Code Extension:
Navigate to IMAGE LOADING in the Astra MCU SDK VSCode Extension.
Select SWD/JTAG as the service type.
Choose the respective image bins and click Flash Execute.
Flash the generated
B0_flash_full_image_GD25LE128_67Mhz_secured.binfile.
Refer to the Astra MCU SDK VSCode Extension User Guide for detailed instructions on flashing.
To flash the application from SynaToolKit:
Change the bootstrap switch position to ROM mode (SW1: ON, SW2: ON).
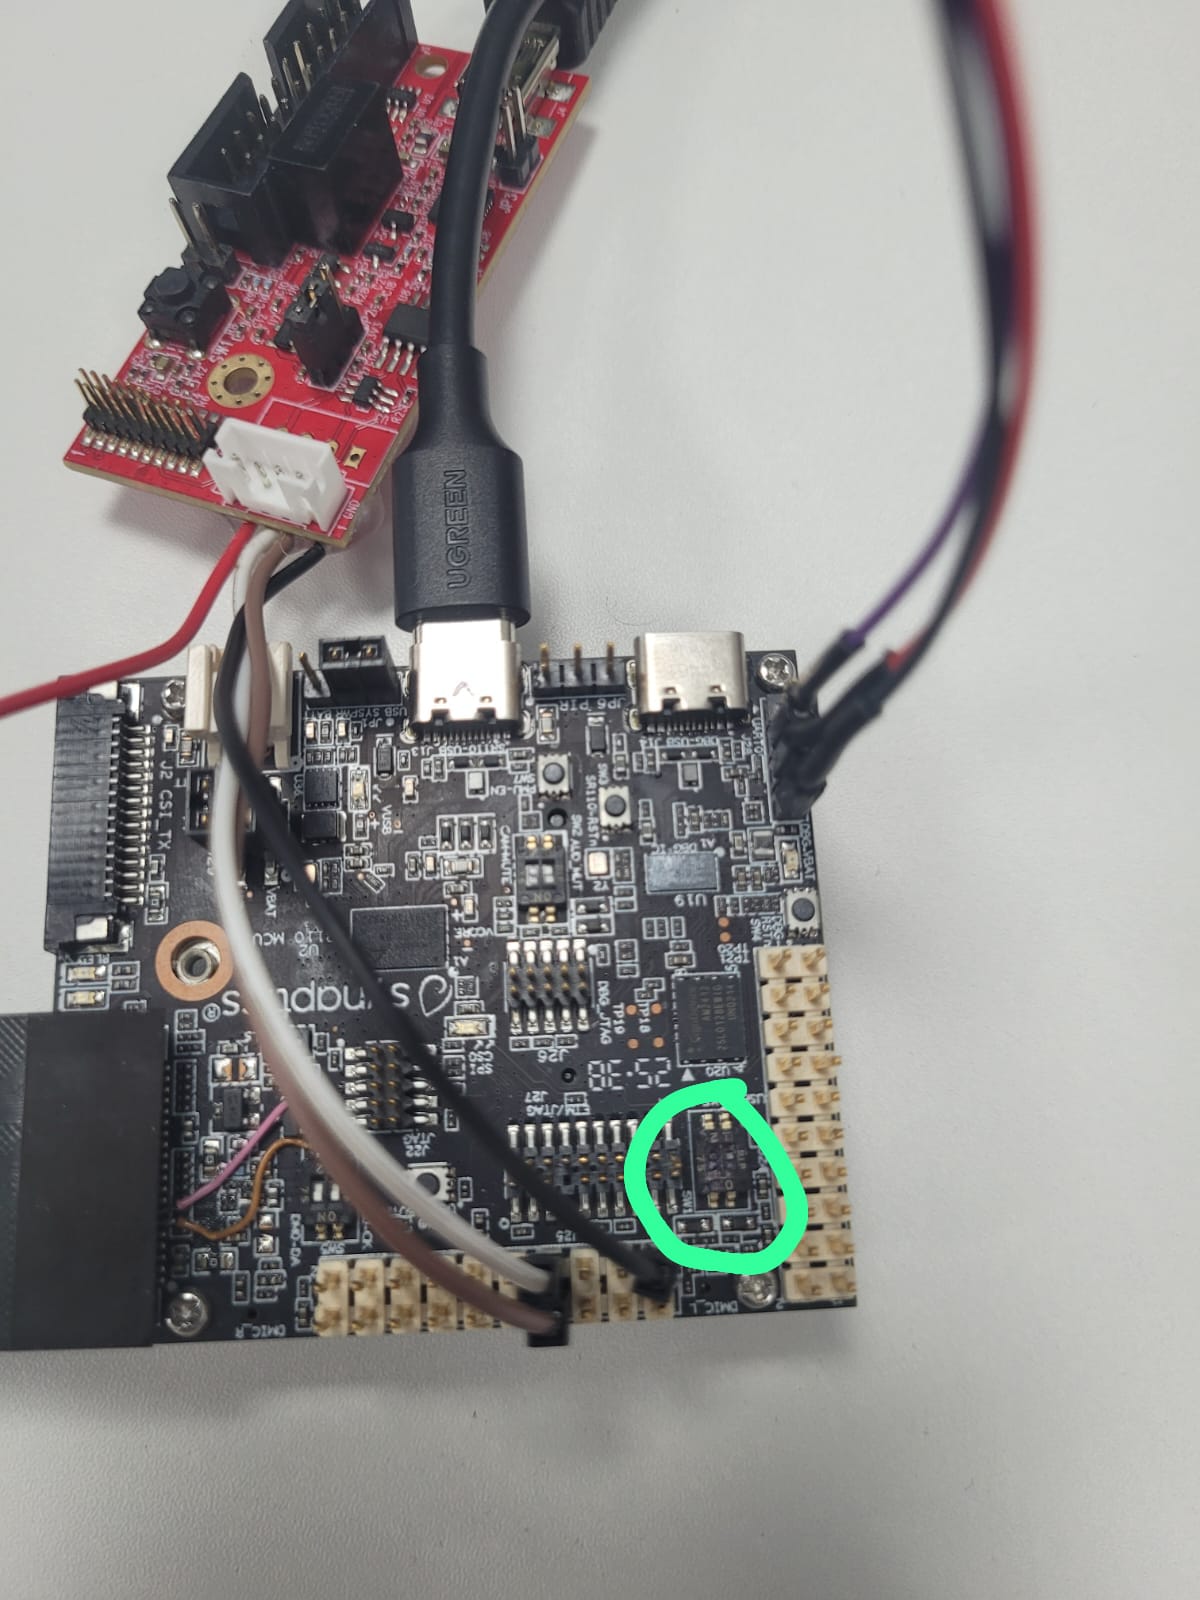
Connect the SynaToolKit in ROM mode. Select the following from the SynaToolkit window:
ROM
UART
Second UART0 COM port
Baud rate: 230400
Click Connect
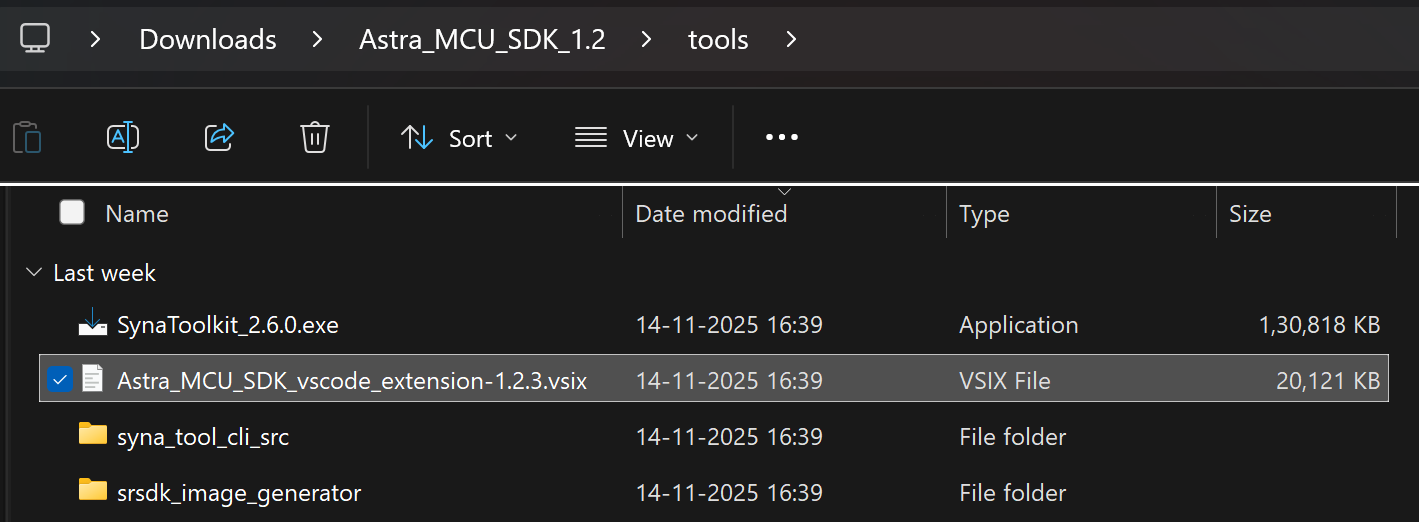
Burn the firmware image into flash:
Select the flash image.
Select Burn to File Flash as the command and click Execute.

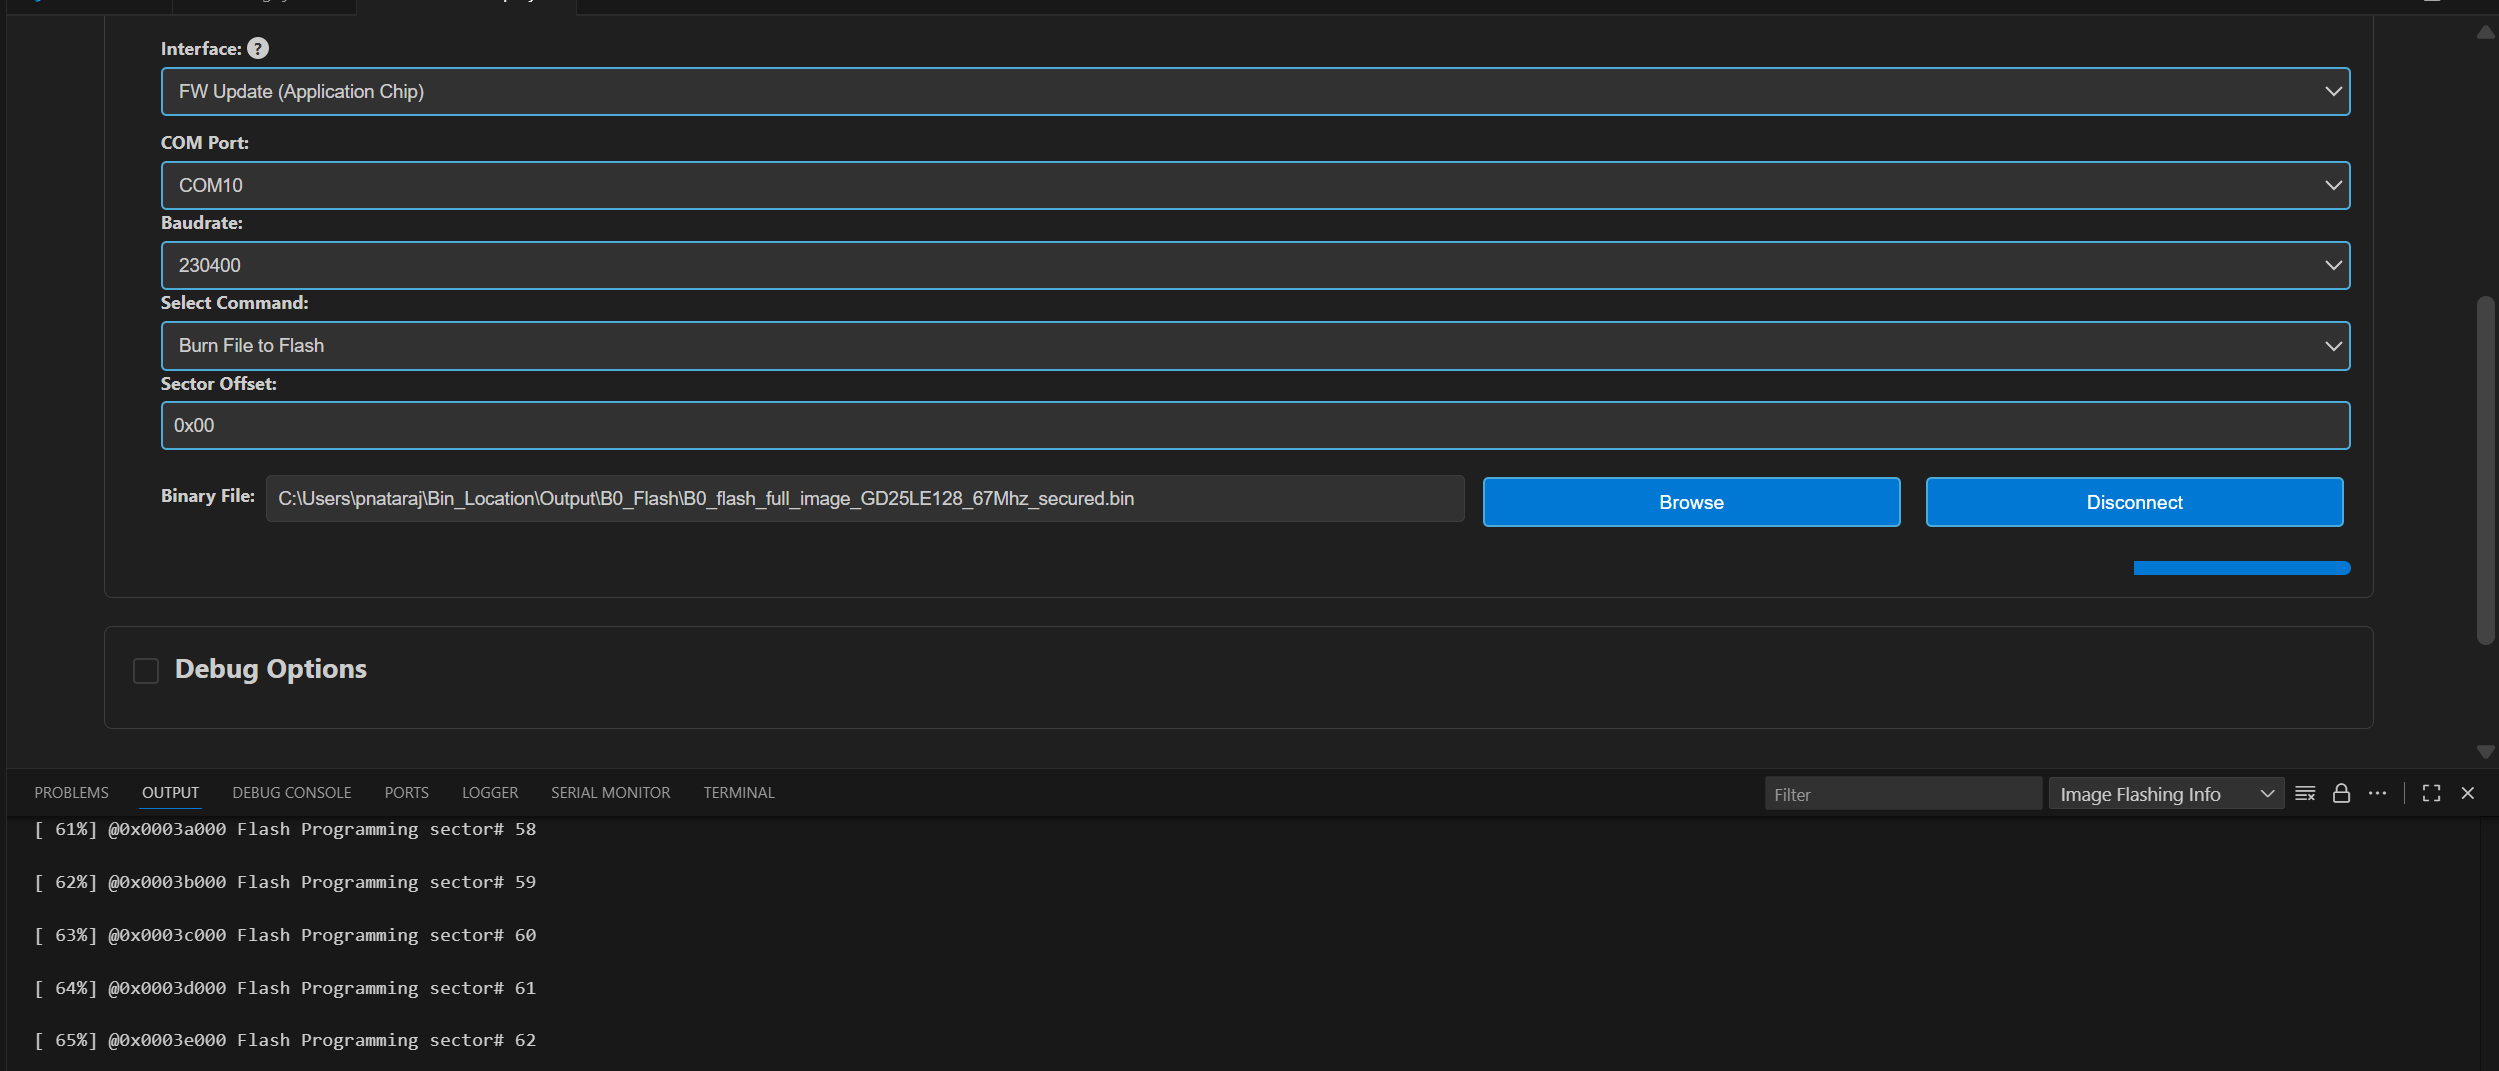
Once flashing is complete, power off the platform and change the bootstrap switch position to
10(SW1: ON, SW2: OFF).Restart the platform to boot from flash.
Running the Application
Open SynaToolkit_2.5.0
Before running the application, make sure to connect a USB cable to the Application SR110 USB port on the Astra Machina Micro board and then press the reset button
For logging output, connect to DAP logger port
Once the application boots it will automatically open video streamer and capture frames. The application will send the latest JPEG in every 3 secoonds
Rerun Setup
To rerun the application, press the RSTN button on the SR110 RDK